Barnacle & Dime
A long, S-shaped stage set around the fountain plaza of a shopping mall, with most of the fighting in the central plaza. There's little tall cover and sightlines are wide open, so whoever holds the middle controls the routes forward, and for a long time people said it was really hard to break back in once you got pushed. The big ver. 8.0.0 rework added a low route to the middle on the left along with slopes and cover, making holds easier to break.
Splat Zones
Zones tips
- The high ground to the left and right of the zone is effectively your last line of defense. Lose it and you can only get back through the low ground, which puts you way behind.
- Once you have the zone, don't sit in the middle. Push the front line up to the top of the enemy-side slopes and high ground. Just don't go too far, or you'll get shot from above.
- If you're pushed in, draw attention in front while pressuring with subs and specials from the high ground on the right route, and time your push with your team.
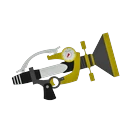 Sploosh-o-matic★Weapons that shine here+2.0
pt S
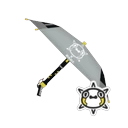 Sorella Brella★Weapons that shine here+1.9
pt B
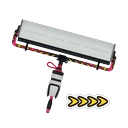 Carbon Roller Deco
Players say: There are just enough bumps in the middle to set up lurking splats, and first impressions said ambushing from ink was easy.
★Weapons that shine here+1.9pt B
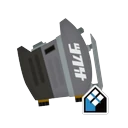 Sloshing Machine Neo★Weapons that shine here+1.9
pt B
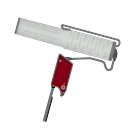 Flingza Roller
Players say: There are just enough bumps in the middle to set up lurking splats, and first impressions said ambushing from ink was easy.
★Weapons that shine here+1.5pt B
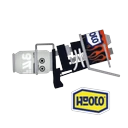 Custom Blaster
Players say: First impressions said the ledge heights are just right for flushing enemies out with blasts.
★Weapons that shine here+1.3pt B
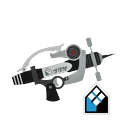 Neo Splash-o-maticWeapons that struggle here-2.6
pt S
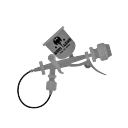 Aerospray MGWeapons that struggle here-2.6
pt B
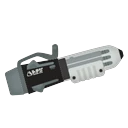 Ballpoint SplatlingWeapons that struggle here-2.2
pt B
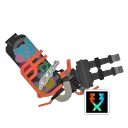 Torrentz Hydra SplatlingWeapons that struggle here-2.2
pt
Tower Control
Tower tips
- The fight over the first checkpoint pretty much decides the game. The moment there's a numbers gap, focus on rebuilding the front line.
- At the second checkpoint it's easy to focus fire from on top of the platform, but without mid range or longer you can't stop them one-sidedly from up there. Short-range players should flank via the Inkrail or use bombs.
- After the rework there are three checkpoints, and the third one is where the enemy can take high ground, so charge your specials and push through.
Rainmaker
Rainmaker tips
- After the checkpoint, climbing the left ramp is the relatively safe route. The center route over the unpaintable stairs tends to take concentrated fire from the high ground. (This is pre-rework info. Ver. 8.0.0 changed the terrain between the checkpoint and the goal.)
- Obstacles are low, so Rainmaker shots land easily. Defenders should stop the carrier with bombs or Splash Wall.
- The stage is surrounded by water, so you can jump off to reset the Rainmaker, but numbers matter a lot on this stage, so don't overdo it.
Clam Blitz
Clams tips
- Lots of clams spawn in the middle, so controlling the middle makes it easy to get ahead on numbers.
- On defense, holding the two high spots on your side lets you shoot down onto the area in front of the basket and stop them.
- The rework added a jump platform in front of the basket, making it easier to score clams.
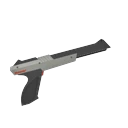
Turf War
Turf tips
- At the start, send at least two players, ideally three, to the middle to stop the enemy's push. If your weapon has the range to hold them off, head to the middle without hesitation.
- The lowest dip, two drops down from spawn, is a death zone for short-range weapons. Don't drop in there without a plan when you're losing.
- The enemy can't reach the high ground around your spawn, so it's hard for them to paint back. Paint it thoroughly.
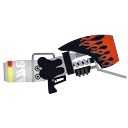 Range Blaster
Players say: First impressions said the ledge heights are just right for flushing enemies out with blasts.
★Weapons that shine here+1.6pt C
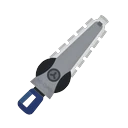 Splatana Stamper★Weapons that shine here+1.4
pt D
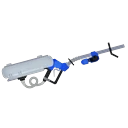 E-liter 4K
Players say: Sightlines are open, and from the high ground you can easily reach the central plaza and even the enemy's high ground. Long-range players see the stage as just "average."
★Weapons that shine here+1.2pt S
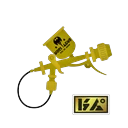 Aerospray RGWeapons that struggle here-2.2
pt B
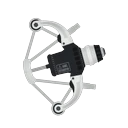 REEF-LUX 450Weapons that struggle here-2.0
pt C
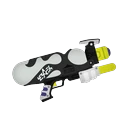 Splattershot NovaWeapons that struggle here-1.4
pt A
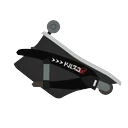 BloblobberWeapons that struggle here-1.2
pt
Update changes
- Ver. 8.0.0 (May 31, 2024) brought a major rework (Inkipedia, Game8, GAME Watch, wikiwiki). A new low route to the central plaza was added on the left, the stage got bigger, slopes and cover were added, the glass bridge became a wooden bridge, and the sniper platform was expanded.
- The rework raised the number of Tower Control checkpoints from two to three (GAME Watch, wikiwiki). In Clam Blitz, a jump platform was added in front of the basket, and the ledges and sponges around the basket were removed (GAME Watch, Inkipedia).
- Before the rework, many players complained hard that it was "a spawn-camping game you can't break out of" (Tricolor Sokuhou roundup, 2023-2024), and a 2023 survey showed short- and mid-range players hated it while long-range players rated it average (note). Right after the rework, reactions were positive, like "it feels totally different." That said, wikiwiki still describes it as a stage where breaking holds is especially hard (it's unclear whether that text predates the rework).