Eeltail Alley
A long, narrow stage split into upper and lower levels by a pedestrian bridge (overpass) running down the middle. The upper level has little cover and clear sightlines, so long-range weapons can look down on most of the main battlefield. The lower level has narrow paths and lots of cover, so short-range ambushes and lurking work well. Depending on the mode, the middle of the bridge is either connected or split, which changes the attack routes a lot.
Splat Zones
Zones tips
- In Splat Zones the center bridge is cut off, so the only way into the enemy side is the route under the bridge (the tunnel).
- If the enemy has long-range weapons, it's hard to take a zone back once you've lost it, so splatting their backline quickly is the key to breaking the hold.
- Once you've got the zone, don't linger. Paint the left and right sides to take away their lurking spots.
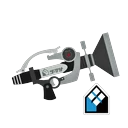 Neo Sploosh-o-matic★Weapons that shine here+5.0
pt B
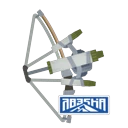 Inkline Tri-Stringer★Weapons that shine here+4.7
pt D
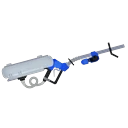 E-liter 4K
Players say: From the overpass on the upper level you can see nearly all of the main battlefield and pick off enemies below without much risk.
★Weapons that shine here+4.3pt B
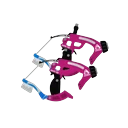 Dapple Dualies★Weapons that shine here+3.3
pt C
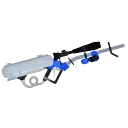 E-liter 4K Scope
Players say: From the overpass on the upper level you can see nearly all of the main battlefield and pick off enemies below without much risk.
★Weapons that shine here+3.0pt A
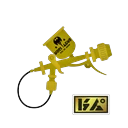 Aerospray RG★Weapons that shine here+2.7
pt C
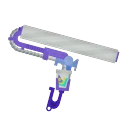 Big Swig RollerWeapons that struggle here-4.6
pt A
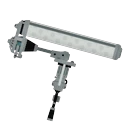 Dynamo RollerWeapons that struggle here-4.2
pt S
 Dread WringerWeapons that struggle here-2.9
pt C
 Range BlasterWeapons that struggle here-2.3
pt
Tower Control
Tower tips
- If they take the small plaza in front of the pedestrian bridge, the Tower becomes unstoppable, so hold it at all costs.
- The second checkpoint sits in a dangerous spot between perches, so clear the surrounding high ground first.
Rainmaker
Rainmaker tips
- It's easier to get onto the pedestrian bridge here than in other modes, so controlling the top of the bridge matters.
- If enemy long-range weapons are up on the bridge, it's hard to move, so splat them first and then carry.
- The left route is high-risk, high-reward, so read the situation before taking it.
Clam Blitz
Clams tips
- Spawn is close to where the clams appear, so attacks come at a fast pace.
- If your whole team gets wiped and gives them an opening at your basket, you can lose a lot of points fast, so avoid forcing risky plays.
- You can jump-throw into the basket from on top of the tunnel. Below the tunnel is a blind spot from above, so watch out for bombs.
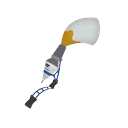
Turf War
Turf tips
- Take the center overpass (upper level) so you can look down on the lower level.
- In the end, your goal is to paint over the whole lower level.
- Watch for Charger lines of fire from under the overpass, and use cover as you move.
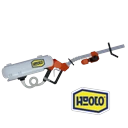 Custom E-liter 4K
Players say: From the overpass on the upper level you can see nearly all of the main battlefield and pick off enemies below without much risk.
★Weapons that shine here+2.0pt C
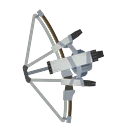 Tri-Stringer★Weapons that shine here+1.6
pt D
E-liter 4K ScopePlayers say: From the overpass on the upper level you can see nearly all of the main battlefield and pick off enemies below without much risk.
★Weapons that shine here+1.3pt B
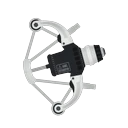 REEF-LUX 450★Weapons that shine here+1.3
pt D
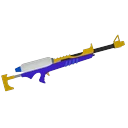 Splat Charger
Players say: From the overpass on the upper level you can see nearly all of the main battlefield and pick off enemies below without much risk.
★Weapons that shine here+1.2pt D
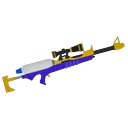 Splatterscope
Players say: From the overpass on the upper level you can see nearly all of the main battlefield and pick off enemies below without much risk.
★Weapons that shine here+1.2pt A
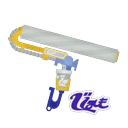 Big Swig Roller ExpressWeapons that struggle here-1.7
pt A
Dynamo RollerWeapons that struggle here-1.3pt B
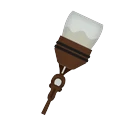 OctobrushWeapons that struggle here-1.2
pt B
 Tri-Slosher NouveauWeapons that struggle here-1.1
pt
Update changes
- Ver. 3.0.0 (2023/2/28): Terrain changed in all modes to reduce the impact of weapons that attack from far away. According to the JP wiki, Turf War got extra obstacles, while the slope leading into the back near the enemy spawn was removed.
- Ver. 8.0.0 (2024/5/31): Small terrain changes in all modes (no details given).
- Ver. 9.3.0: Terrain changed only in Tricolor Turf War (some areas near the attackers' spawn were made unpaintable and cover was added). Regular battles aren't affected.
- As of 2026, overseas players say it's close to a one-lane stage where it's hard to recover once you lose the center, and that the center fight in Clam Blitz favors the defending team.