Bluefin Depot
A returning stage from the original Splatoon. The center is a sunken basin split into two open areas, left and right. Your high ground overlooks the center, but there's little cover there beyond a cross-shaped block, and getting back up takes a wall or an elevator. So if you lose on range, breaking the hold is really painful. Routes basically go left or right, and there are lasting complaints that it favors long range and that Clam Blitz turns into a slog.
Splat Zones
Zones tips
- The zone shifts to the left from the holding team's point of view, and the team that lost it can come at it head-on, so the layout makes it easy to retake. Check where you should be standing in each situation.
- Spawn is off to the right, so if you get splatted while holding, it's a long way back to the zone. The holding team especially should focus on not getting splatted.
- One ideal setup: a long-range weapon draws attention from the front while a mobile weapon breaks things open from the side. When holding, watch the bridge on the enemy side and the right high ground for flankers.
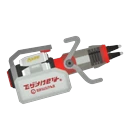 Heavy Edit Splatling
Players say: It's easy to keep pressuring the lower open areas from the upper high ground, and the team breaking the hold is said to have a hard time reaching it.
★Weapons that shine here+3.0pt C
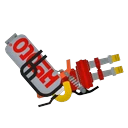 Hydra Splatling
Players say: It's easy to keep pressuring the lower open areas from the upper high ground, and the team breaking the hold is said to have a hard time reaching it.
★Weapons that shine here+2.4pt B
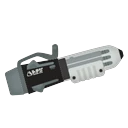 Ballpoint Splatling
Players say: It's easy to keep pressuring the lower open areas from the upper high ground, and the team breaking the hold is said to have a hard time reaching it.
★Weapons that shine here+2.3pt B
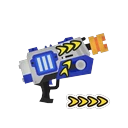 Rapid Blaster Deco★Weapons that shine here+2.1
pt D
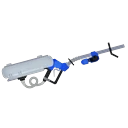 E-liter 4K
Players say: From your high ground you can look down on the basin-shaped center, which has little cover, so it's easy to get lines of fire.
★Weapons that shine here+1.7pt A
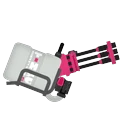 Heavy Splatling
Players say: It's easy to keep pressuring the lower open areas from the upper high ground, and the team breaking the hold is said to have a hard time reaching it.
★Weapons that shine here+1.5pt A
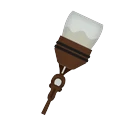 OctobrushWeapons that struggle here-3.7
pt C
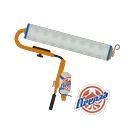 Krak-On Splat RollerWeapons that struggle here-3.2
pt B
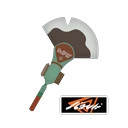 Painbrush BRN-ZWeapons that struggle here-2.4
pt S
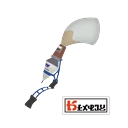 Inkbrush NouveauWeapons that struggle here-2.0
pt
Tower Control
Tower tips
- The Tower sits high and short-range weapons struggle to reach it, so long-range weapons should pressure it from the upper level and knock riders off.
- Defenders need to hold checkpoint 2 on the upper level at all costs. Once the Tower gets past it, walls create blind spots and long-range weapons lose their lines of fire.
- If your side's open area gets taken, it's pretty much a knockout, so don't miss enemies coming up the elevator.
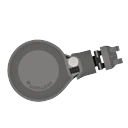 Nautilus 47
Players say: It's easy to keep pressuring the lower open areas from the upper high ground, and the team breaking the hold is said to have a hard time reaching it.
★Weapons that shine here+1.4pt B
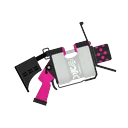 .52 Gal★Weapons that shine here+1.1
pt A
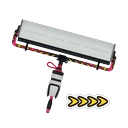 Carbon Roller DecoWeapons that struggle here-1.4
pt S
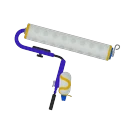 Splat RollerWeapons that struggle here-1.3
pt A
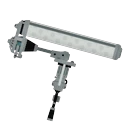 Dynamo RollerWeapons that struggle here-1.1
pt A
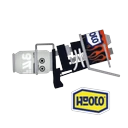 Custom BlasterWeapons that struggle here-1.0
pt
Rainmaker
Rainmaker tips
- The left route has a nearby checkpoint and is easy to push through, but it's right in front of the enemy spawn and there are unpaintable stairs before the goal, so knockouts are hard.
- The right route requires taking the enemy high ground and the count moves slowly, but it's easier to advance past the checkpoint. Use the left to build count and the right when you're going for a knockout.
Clam Blitz
Clams tips
- Defenders are favored, and sometimes it isn't decided even in overtime. Clear thoroughly and combine specials (like Kraken Royale) to attack.
- There are two ways in: the left edge of the enemy high ground (paintable wall, grate, Inkrail) or the elevator. Attack from both with your teammates to pinch them.
- Try to make more power clams than the other team, and play with overtime in mind.
Turf War
Turf tips
- In the opening, split up and take both open areas, left and right. If you bunch up on one side, the other side gets taken and you get pinched.
- When dropping from your base to the lower area, it's easy to fall into the trench in front and drown, so jump over the divider.
- There's no climbable wall at the back of the right open area, so getting into the enemy base depends on the elevator. The warning light gives away anyone riding it, so defenders can watch the light and wait in ambush.
Update changes
- Returned from the original game in Ver. 6.0.0 (Chill Season 2023). The spawn area was heavily reworked, and elevators were added in place of climbable walls.
- Ver. 8.0.0: terrain changes for Clam Blitz only. A grate was added to the wall up to the enemy's right high ground, an Inkrail was added to the tree-branch-shaped wall, and the blocks became fully paintable, making it easier to approach the basket. Complaints continued afterward, though, like "Clam Blitz here is just empty" and "as bad as Mincemeat Metalworks before its rework."
- Ver. 9.3.0: the lamp (light) on the center bridge was moved to the top of the elevator. Tricolor Turf War got adjustments like a bigger base for the attacking team, grates and an Inkrail added to the right route, cover facing a different direction, and new bunkers.
- Ver. 11.0.0: fixed bugs in Splat Zones and Clam Blitz that let players climb terrain in unintended ways (no major terrain changes).