Hammerhead Bridge
A long, narrow stage with little height difference and clear sightlines. The only real route into the enemy side is the center slope, so the team that takes the center first can set up a defensive line on the step above it and keep pushing, which makes breaking out very tough. The Ver. 8.0.0 rework widened your side and added routes like one down to the right plaza, but it's still a stage where flanking barely works.
Splat Zones
Zones tips
- Once you take the zone, push up to the next step and set your defensive line there to keep enemies away from the zone.
- Painting the top of the block in the middle of the zone doesn't count toward the zone, so watch out.
- For enemies hiding behind the obstacles (balloons) on their side, hit them with bombs or arcing shots.
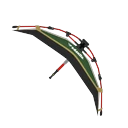 Tenta Brella★Weapons that shine here+3.1
pt B
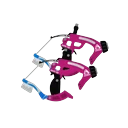 Dapple Dualies★Weapons that shine here+2.2
pt A
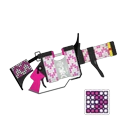 .96 Gal Deco★Weapons that shine here+1.9
pt B
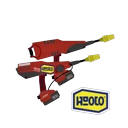 Custom Dualie Squelchers★Weapons that shine here+1.6
pt A
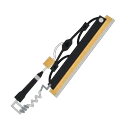 Splatana Wiper
Players say: Some say it's a relatively good stage for it: it can go wild once your team has pushed in, and it can deal with lurkers and long-range weapons to some extent.
★Weapons that shine here+1.4pt A
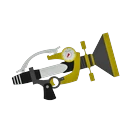 Sploosh-o-matic★Weapons that shine here+1.4
pt B
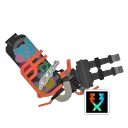 Torrentz Hydra SplatlingWeapons that struggle here-1.9
pt A
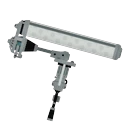 Dynamo RollerWeapons that struggle here-1.7
pt D
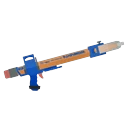 Snipewriter 5HWeapons that struggle here-1.4
pt C
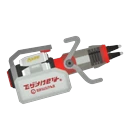 Heavy Edit SplatlingWeapons that struggle here-1.2
pt
Tower Control
Tower tips
- There's no clear high ground for defending the checkpoints, so winning the center fight at the start matters most.
- At the second checkpoint, the Tower is easy to hit from the nearby grate high ground. Everyone not riding should take that high ground first.
- At the third checkpoint, the high ground right in front is dangerous. Jumping straight from the Tower onto it to break the enemy makes it easier to advance.
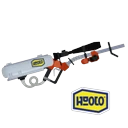 Custom E-liter 4K Scope
Players say: The center is open, with high ground a bit behind it that overlooks the whole center, so it's easy to apply long-range pressure without much risk (though some point out that in Tower Control, Chargers tend to struggle in the fight for the center).
★Weapons that shine here+1.6pt C
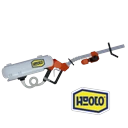 Custom E-liter 4K
Players say: The center is open, with high ground a bit behind it that overlooks the whole center, so it's easy to apply long-range pressure without much risk (though some point out that in Tower Control, Chargers tend to struggle in the fight for the center).
★Weapons that shine here+1.2pt A
Splatana WiperPlayers say: Some say it's a relatively good stage for it: it can go wild once your team has pushed in, and it can deal with lurkers and long-range weapons to some extent.
★Weapons that shine here+1.1pt B
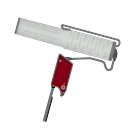 Flingza Roller★Weapons that shine here+1.1
pt B
.96 Gal Deco★Weapons that shine here+1.0pt C
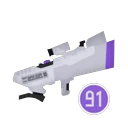 S-BLAST '91Weapons that struggle here-1.7
pt B
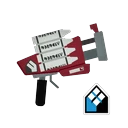 Clash Blaster NeoWeapons that struggle here-1.6
pt B
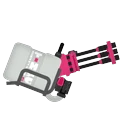 Heavy SplatlingWeapons that struggle here-1.4
pt B
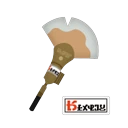 Painbrush NouveauWeapons that struggle here-1.4
pt
Rainmaker
Rainmaker tips
- There's only one checkpoint, and from there it's basically a straight path to the goal. Build a numbers advantage, then push together.
- The route that jumps from the block before the checkpoint onto the platforms has more cover and is easier to push safely than climbing the slope.
- If a long-range weapon is on the grate high ground at the upper left of the slope, chase it off with charged Rainmaker shots or similar before you push.
Clam Blitz
Clams tips
- The basket is near the Tower Control final checkpoint and is well defended. Get ready to clear the defenders with bombs or long-reaching specials before you attack.
- The standard play is a jump throw from just in front of the platform. You can also reach it with a jump throw from the grate high ground on the right.
- The route that uses a Squid Roll from the block onto the high ground makes you pop up suddenly from below, so it's great for surprise attacks.
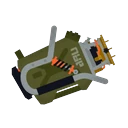 Explosher
Players say: Pushing the front line means fighting enemies on high ground, and arcing shots make high targets easy to hit. It's also strong near the goal when defending.
★Weapons that shine here+1.3pt A
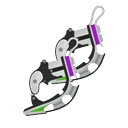 Dark Tetra Dualies★Weapons that shine here+1.1
pt B
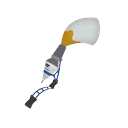 InkbrushWeapons that struggle here-1.2
pt C
Flingza RollerWeapons that struggle here-1.1pt S
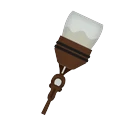 OctobrushWeapons that struggle here-1.1
pt
Turf War
Turf tips
- At the start, don't take your time painting your side. Join the center fight first and build a defensive line. Short-range weapons especially do their best work at the start.
- The step up from the center is a strong spot that favors the defenders. Once you take the center, push your line up to there.
- The small plaza on the left has no escape route, and dropping in carelessly usually gets you focused down. Only go around there when your teammates are drawing attention in the center.
Update changes
- Ver. 3.0.0: Terrain changed in some modes to reduce the impact of weapons that shoot from long range (confirmed via old map labels on Inkipedia and the JP wiki).
- Ver. 8.0.0 (temporarily closed for the rework during the late May 2024 season update): Terrain changed in all modes to add more routes to the center and more strategic spots. Your side's right area was shortened and pillars were removed, the high ground was expanded, slopes and cover were added, and a route from your base down to the right plaza was added, among other changes (Inkipedia, JP wiki).
- Post-rework view (JP wiki): Breaking out from the losing side got easier, but there's still no flanking route into the enemy side, and the route to the right plaza is one-way, so play hasn't changed much from before the rework and breaking a hold with short-range weapons is still hard.
- Player comments after the rework (JP wiki comments): Some call it a good rework that gives you more options when you've lost the center and are getting pushed, while others still complain that the layout has barely changed and it's only a bit better, and that long-range weapons (especially the E-liter) are too strong.
- Ver. 9.3.0: Cover and other changes were added to help attackers move forward (Inkipedia; this seems mainly aimed at Tricolor Turf War, and the JP wiki still shows the old Tricolor map).
- Note that parts of the GameWith and Kamigame guides assume the pre-rework layout.